Email security is a top priority for businesses today. At Lead Generation Institute, we often field questions about improving email deliverability and protecting sender reputation.
One powerful tool in this arsenal is DKIM (DomainKeys Identified Mail). Adding a DKIM record to your domain can significantly boost your email authentication and reduce the chances of your messages landing in spam folders.
In this guide, we’ll walk you through the process of adding a DKIM record to your domain, step by step.
What is DKIM and Why Does it Matter?
Understanding DKIM: The Email Authentication Powerhouse
DKIM (DomainKeys Identified Mail) stands as a vital email authentication method that helps protect against phishing, spam, and email forgery by digitally signing outgoing messages. It allows receiving servers to verify the message’s origin and integrity.
DKIM’s Impact on Email Deliverability
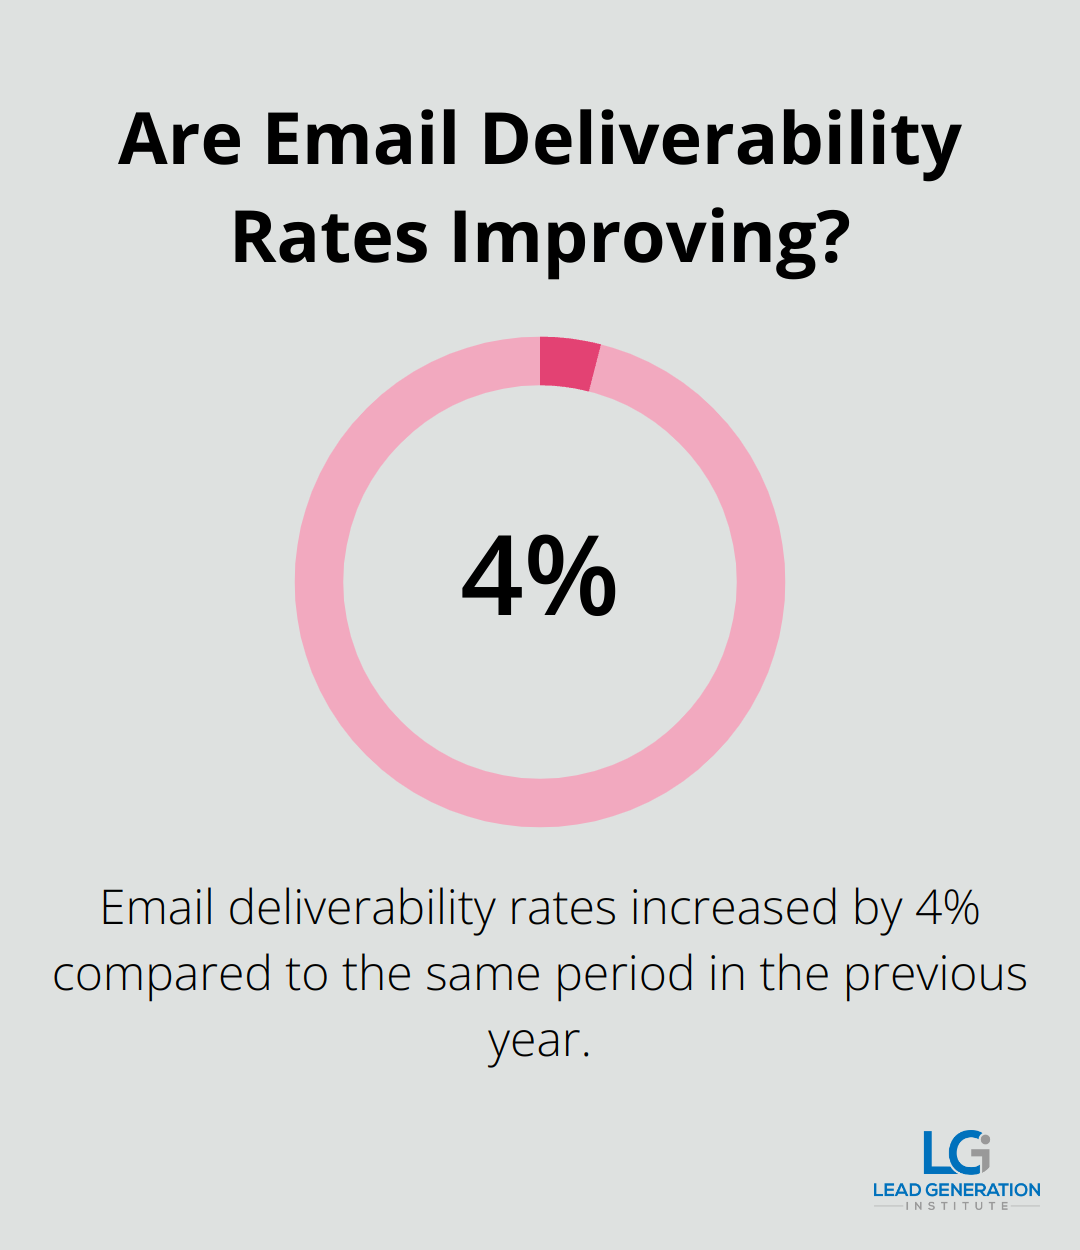
DKIM builds trust with email providers, which significantly improves email deliverability. When emails consistently pass DKIM checks, major email services (like Gmail, Outlook, and Yahoo) are more likely to deliver messages to the inbox rather than the spam folder. A study shows that email deliverability rates increased by 4% compared to the same period in the previous year, although it is 3% lower than the average worldwide deliverability.
Anatomy of a DKIM Record
A DKIM record consists of three main components:
- Selector: A unique identifier for the DKIM key, enabling the use of multiple DKIM keys for different purposes or email streams.
- Public Key: The cryptographic key used to verify the digital signature on emails.
- Domain Name: Specifies the domain to which the DKIM record applies.
These components combine into a TXT record in the domain’s DNS settings. For example:
v=DKIM1; k=rsa; p=MIGfMA0GCSqGSIb3DQEBAQUAA4GNADCBiQKBgQC3QEKyU1fSma0axspqYK49aE…
Practical DKIM Implementation
To set up DKIM for your domain, you’ll need to work with your email service provider. Most providers (including Google Workspace and Microsoft 365) offer straightforward tools to generate DKIM keys and provide instructions for adding them to your DNS.

For dedicated email servers, you might need to use OpenDKIM or a similar tool to generate your keys. The key generation process typically creates both a public key (which goes in your DNS) and a private key (which stays on your email server to sign outgoing messages).
DKIM as Part of a Comprehensive Email Authentication Strategy
DKIM is just one piece of the email authentication puzzle. For maximum effectiveness, use it in conjunction with SPF (Sender Policy Framework) and DMARC (Domain-based Message Authentication, Reporting, and Conformance). These three protocols work together to create a robust email authentication system that significantly reduces the risk of email-based attacks and improves overall deliverability.
Now that we understand what DKIM is and why it matters, let’s move on to the practical steps of adding a DKIM record to your domain.
How to Add a DKIM Record to Your Domain
Obtaining DKIM Information
The first step requires you to get your DKIM information from your email service provider. Google Workspace, Microsoft 365, and other major providers offer easy-to-follow instructions for DKIM key generation. If you run your own email servers, tools like OpenDKIM can generate the necessary keys.
Accessing DNS Settings
After you have your DKIM information, access your domain’s DNS settings. You can usually do this through your domain registrar’s website or your hosting provider’s control panel. Look for options to manage DNS records or edit zone files.
Creating the DKIM Record
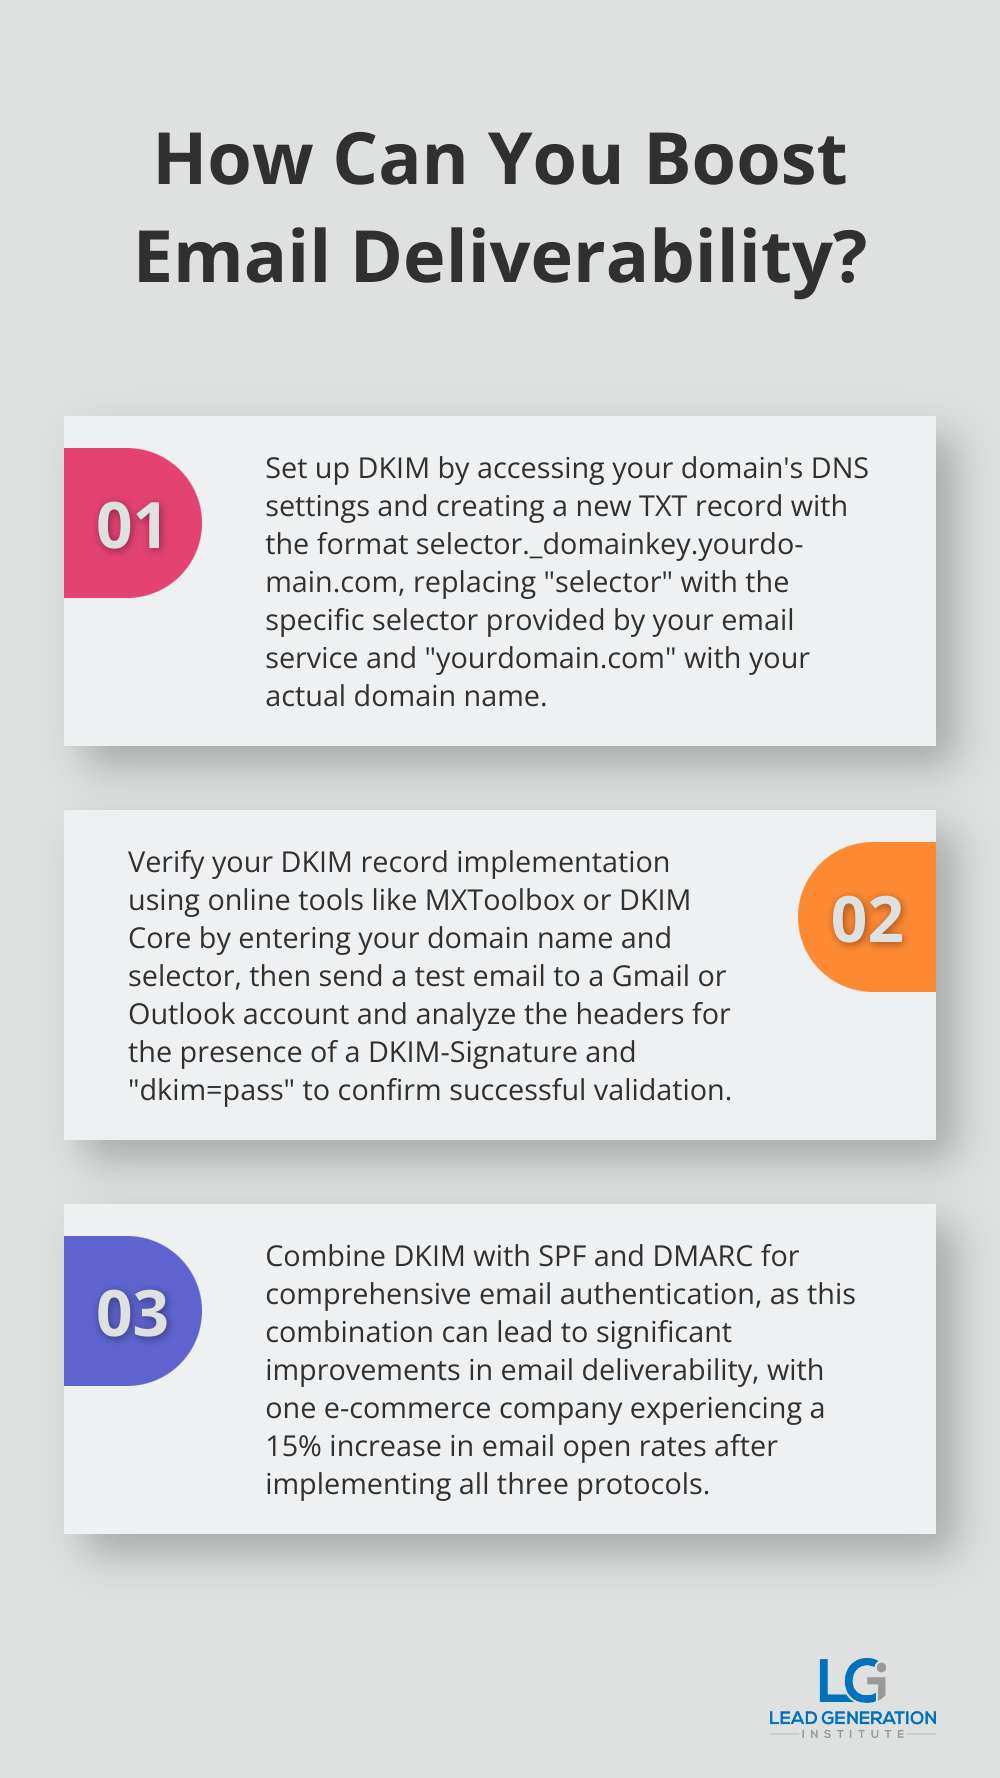
In your DNS settings, create a new TXT record. The process varies depending on your provider, but generally, you’ll find an option to add a new record and select TXT as the record type.

Format the host or name field for your DKIM record like this:
selector._domainkey.yourdomain.com
Replace “selector” with the specific selector provided by your email service, and “yourdomain.com” with your actual domain name.
Entering DKIM Information
Paste the DKIM information provided by your email service into the value or data field of your new TXT record. This information typically starts with “v=DKIM1” and includes a public key. Enter this information exactly as provided, without additional spaces or line breaks.
DKIM implementation can affect your email deliverability. If DKIM is missing, it might not disqualify a message but will impact its deliverability.
Some DNS providers have character limits for TXT records. If your DKIM key exceeds this limit, you may need to split it into multiple records. Your email service provider should offer guidance on this process if necessary.
Saving and Verifying
After you add the record, save your changes. DNS propagation is usually described as taking up to 48 hours, but with bigger DNS services, it’s often much faster, around a few hours. During this time, use online DKIM checker tools to verify that your record is correctly set up and visible.
The process of adding a DKIM record to your domain might seem technical, but it’s a straightforward task that can significantly improve your email deliverability. Once you’ve completed these steps, you’ll want to verify that your DKIM record is working correctly. Let’s explore how to do that in the next section.
How to Verify Your DKIM Record
Using DKIM Checker Tools
After you add your DKIM record, you need to verify its correct implementation. This step ensures your emails receive proper authentication, which improves deliverability and protects your sender reputation.

Several online tools can help you verify your DKIM record. MXToolbox and DKIM Core are popular options. Enter your domain name and selector into these tools, and they’ll check if your DKIM record appears correctly in your DNS.
For example, if you use MXToolbox, navigate to their DKIM Lookup tool. Enter your selector (e.g., google) and domain (e.g., yourdomain.com) in the format selector._domainkey.yourdomain.com. The tool will then display your DKIM record if you set it up correctly.
Sending a Test Email
While checker tools provide useful information, sending a test email offers real-world confirmation. Send an email from your domain to a Gmail or Outlook account, as these services clearly display authentication results.
When you send your test email, include a unique subject line like “DKIM Test [Your Domain] [Date]”. This makes it easier to locate the message for header analysis.
Analyzing Email Headers
Once you send a test email, examine its headers to confirm the DKIM signature. In Gmail, you can view headers by clicking the three dots next to the reply button and selecting “Show original”.
Look for a section starting with “DKIM-Signature:”. Its presence indicates that your email received a DKIM signature. Next, find a line containing “dkim=pass”. This confirms that the receiving server successfully validated your DKIM signature.
If you see “dkim=fail”, it suggests an issue with your DKIM setup. Common problems include incorrect key input in your DNS record or mismatched selectors. In such cases, double-check your DNS settings and consult your email service provider’s documentation.
Impact on Email Deliverability
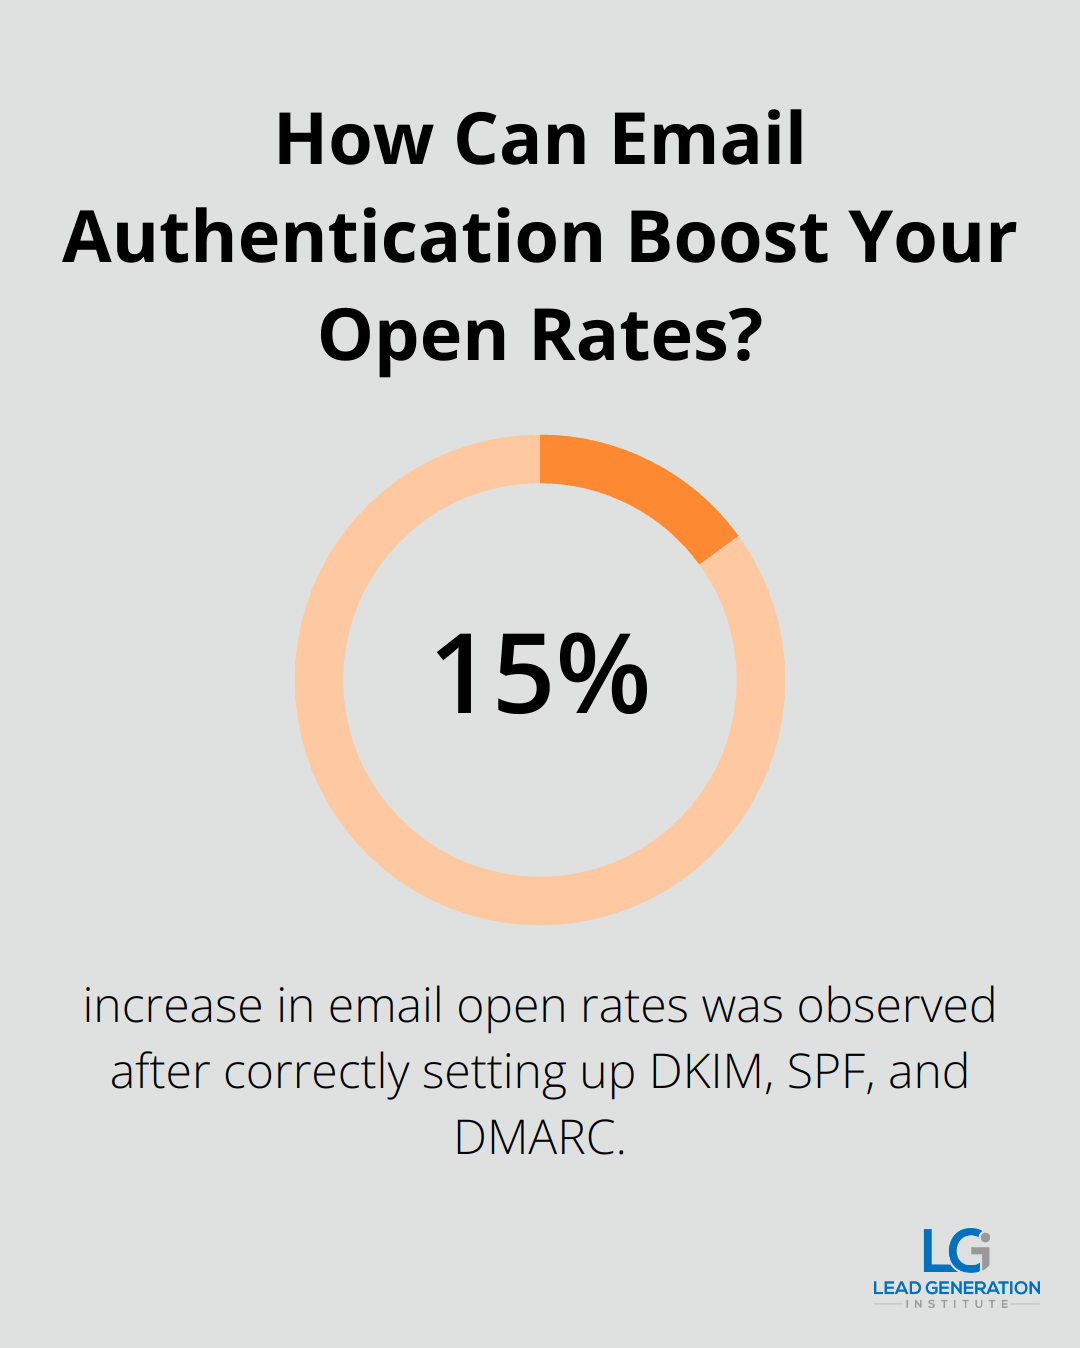
Proper DKIM implementation can significantly reduce email delivery issues. One e-commerce company saw a 15% increase in email open rates after correctly setting up DKIM, SPF, and DMARC, which demonstrates its impact on deliverability.
DKIM is just one part of email authentication. For comprehensive protection, combine it with SPF and DMARC. These protocols work together to create a robust defense against email spoofing and phishing attempts.
Final Thoughts
Adding a DKIM record to your domain enhances email security and improves deliverability. The process involves obtaining DKIM information, accessing DNS settings, and creating a TXT record with accurate DKIM data. After implementation, verify your DKIM record using online checker tools and test emails to ensure proper functionality.

At Lead Generation Institute, we understand the impact of proper email authentication on marketing efforts. Our experience shows that implementing DKIM, SPF, and DMARC often leads to improved email deliverability rates and campaign performance. We encourage you to take action today and implement DKIM for your domain.
This small investment of time can protect your brand reputation and ensure your messages reach intended recipients. Prioritize email authentication to position your business for success in the complex digital landscape. Take this step towards more secure, effective email communication and watch your email marketing efforts improve.


