Email security is a top priority for businesses in today’s digital landscape. At Lead Generation Institute, we understand the critical role DMARC plays in protecting your domain from email spoofing and phishing attacks.
Adding a DMARC record to your domain is a powerful step toward enhancing your email security posture. In this guide, we’ll walk you through the process and best practices for implementing DMARC effectively.
What is DMARC and Why Does It Matter?
Understanding DMARC
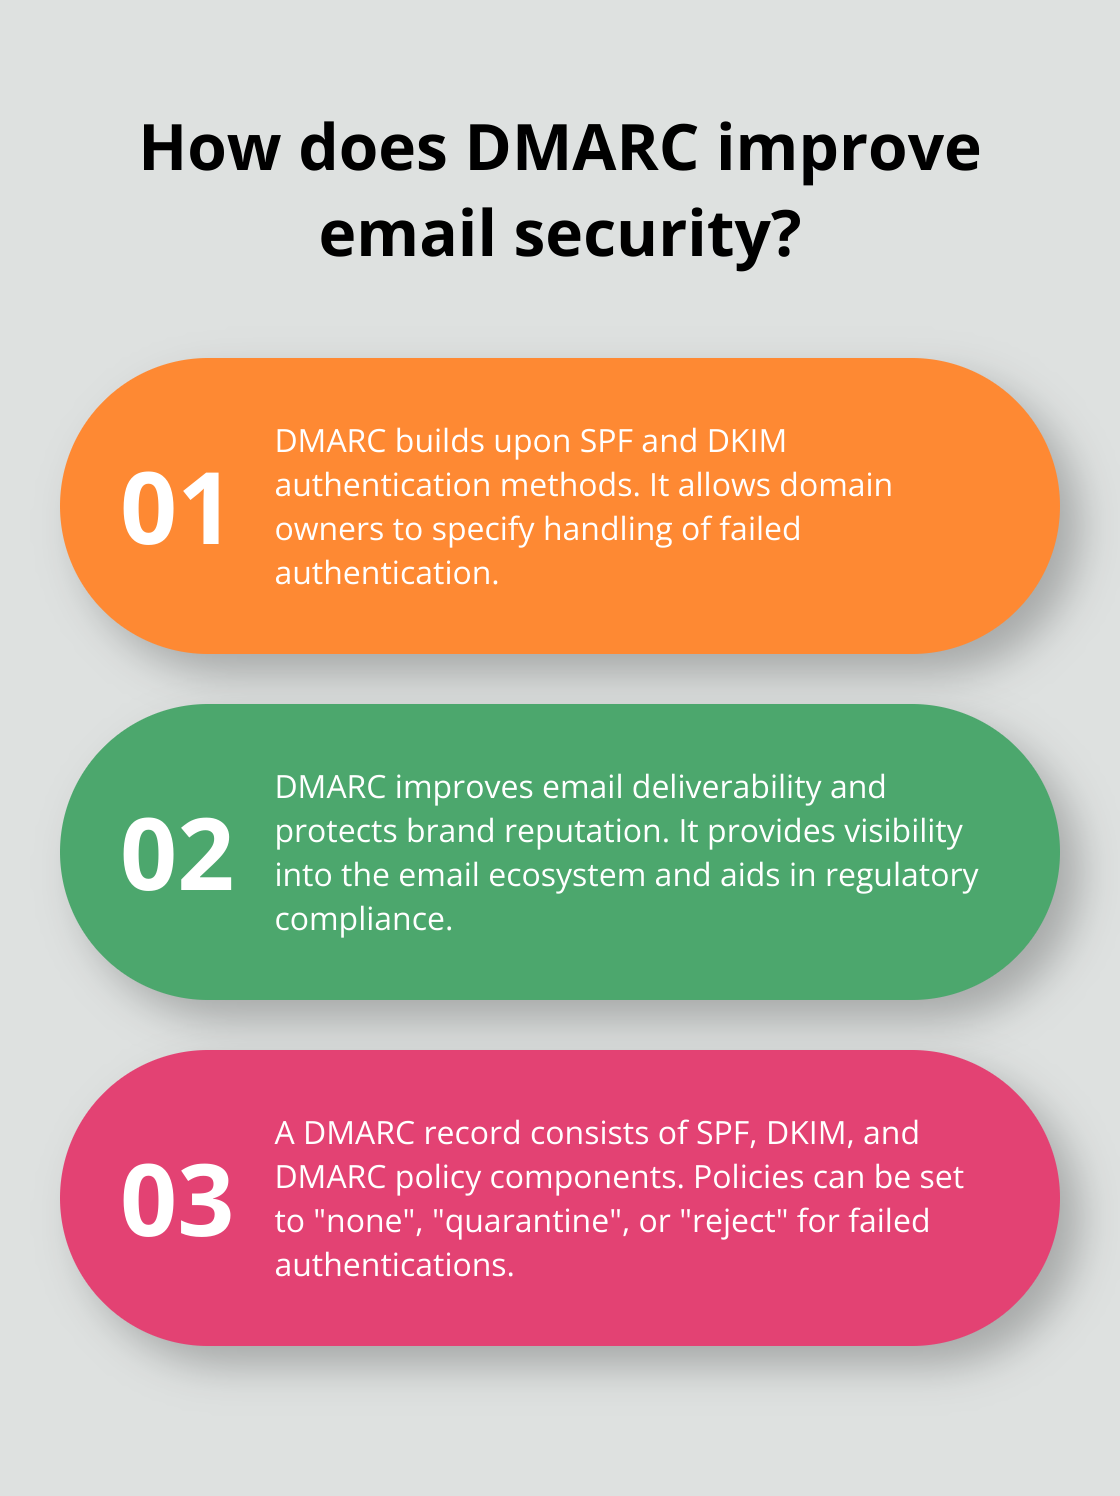
DMARC (Domain-based Message Authentication, Reporting, and Conformance) is a powerful email authentication protocol that helps prevent malicious actors from impersonating legitimate domains. It builds upon two existing email authentication methods: SPF (Sender Policy Framework) and DKIM (DomainKeys Identified Mail).
In February 2024, Google and Yahoo reported they would no longer deliver emails without DMARC policies. So, you must understand how to add these records to your email domains.
The Mechanics of DMARC
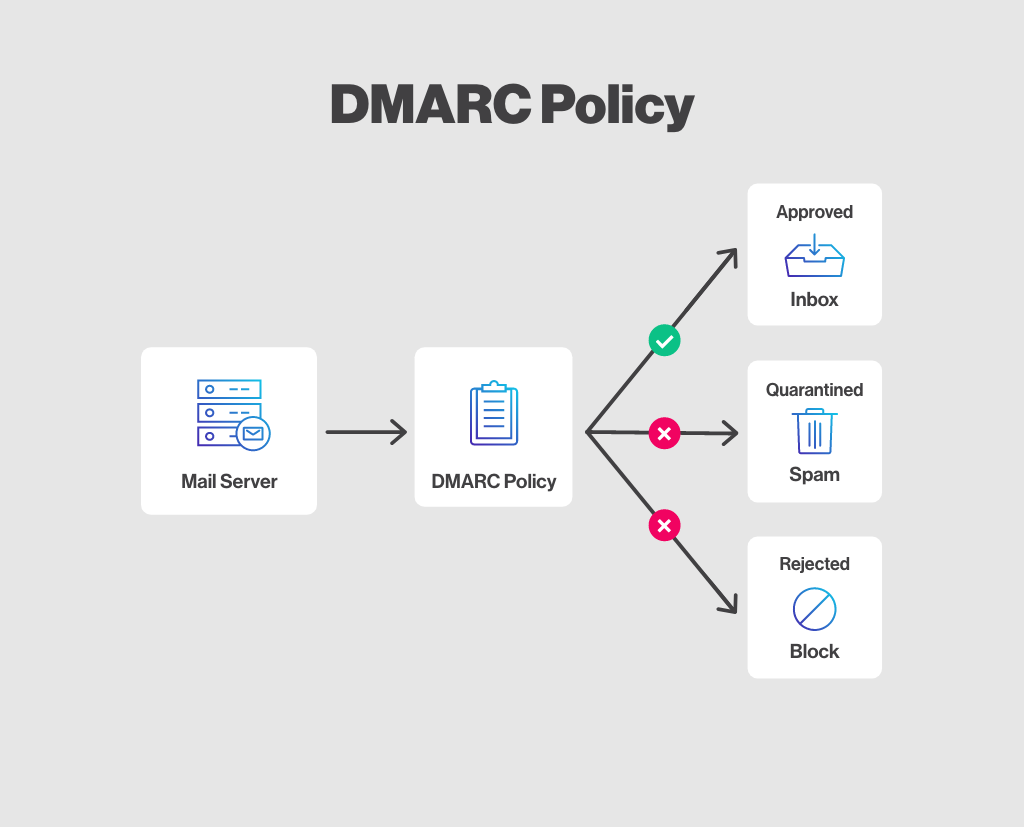
DMARC allows domain owners to specify how email receivers should handle messages that fail authentication checks. When a receiving server gets an email, it checks the DMARC policy published in the sender’s DNS records. This policy instructs the server on what action to take if the email fails SPF or DKIM checks.
Key Benefits of DMARC Implementation
Implementing DMARC offers several advantages for email security:
- Improved deliverability: DMARC helps legitimate emails reach their intended recipients by reducing the likelihood of being marked as spam.
- Enhanced brand protection: DMARC safeguards your brand reputation by preventing unauthorized use of your domain.
- Visibility into email ecosystem: DMARC provides detailed reports on email authentication results, allowing you to identify and address potential vulnerabilities.
- Compliance with regulations: Many industries require DMARC implementation as part of their cybersecurity standards.
Components of a DMARC Record
A DMARC record consists of three main components:
- SPF (Sender Policy Framework): This specifies which IP addresses or email service providers are authorized to send emails on behalf of your domain.
- DKIM (DomainKeys Identified Mail): This adds a digital signature to your emails, verifying that the content hasn’t been tampered with during transit.
- DMARC Policy: This defines how receiving servers should handle emails that fail authentication checks. Policies can be set to “none” (monitor only), “quarantine” (send to spam folder), or “reject” (block entirely).
Now that we’ve covered the basics of DMARC and its importance let’s move on to the practical steps of adding a DMARC record to your domain. In the next section, we’ll guide you through this process to ensure you can harness these benefits for your email security strategy.
How to Add a DMARC Record to Your Domain
Review Your Current DNS Setup
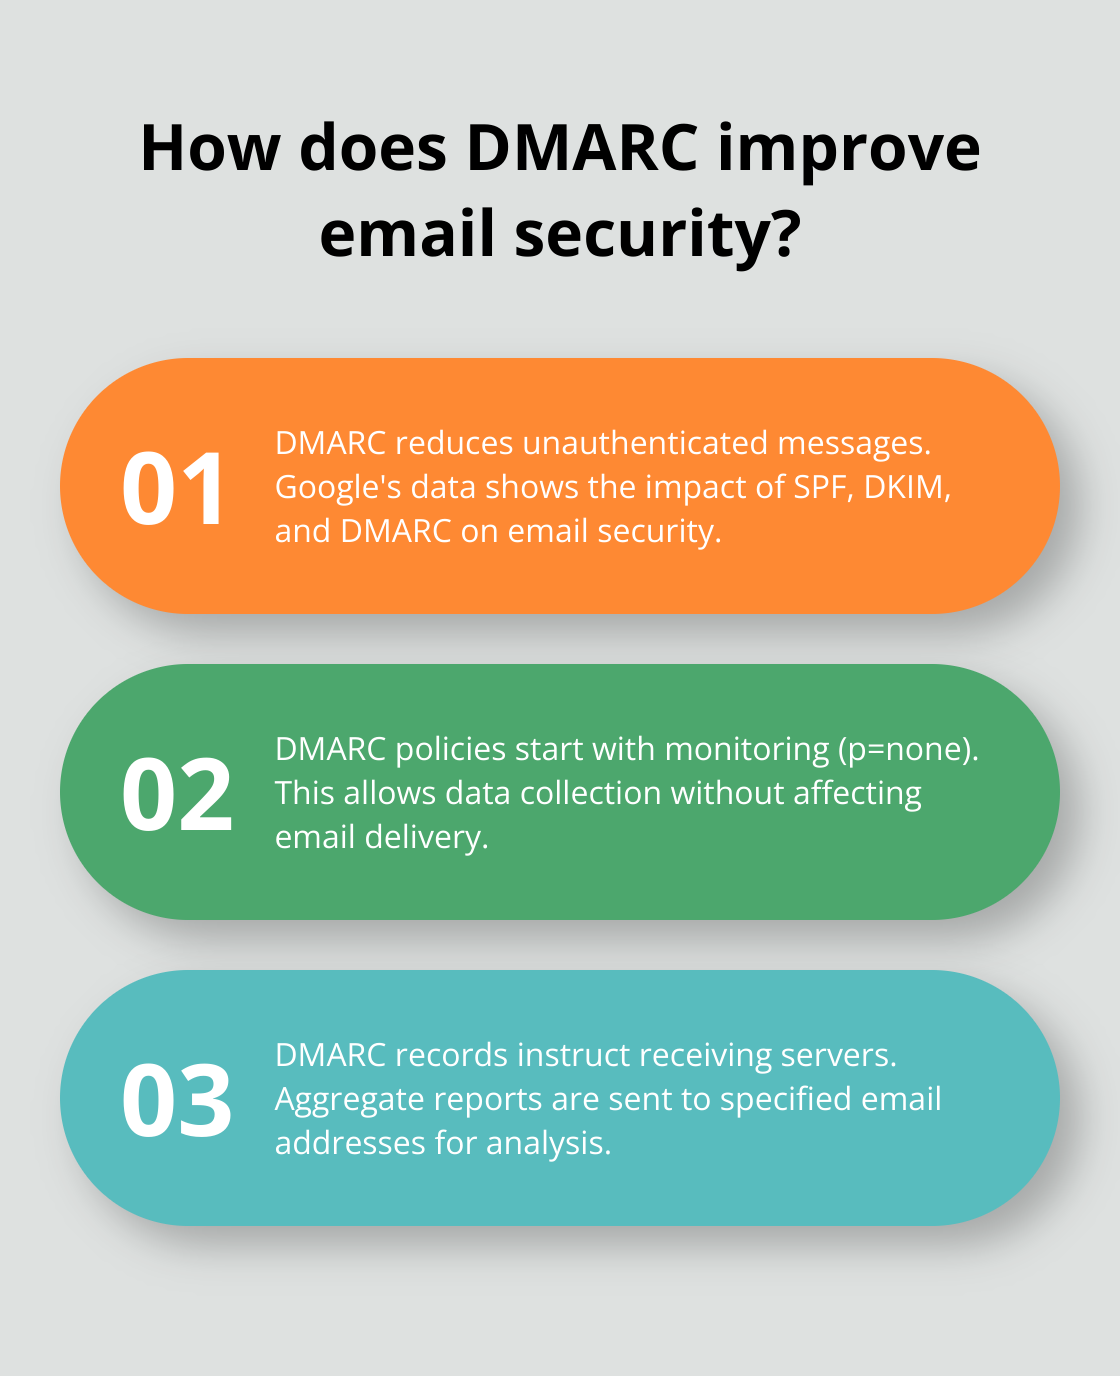
Before you add a DMARC record, check your existing DNS records. Log into your DNS management console and search for any SPF and DKIM records. If these records don’t exist, set them up first. Google’s new email authentication data reveals the impact of SPF, DKIM, and DMARC in reducing unauthenticated messages and improving email security across domains.
Craft Your DMARC Policy
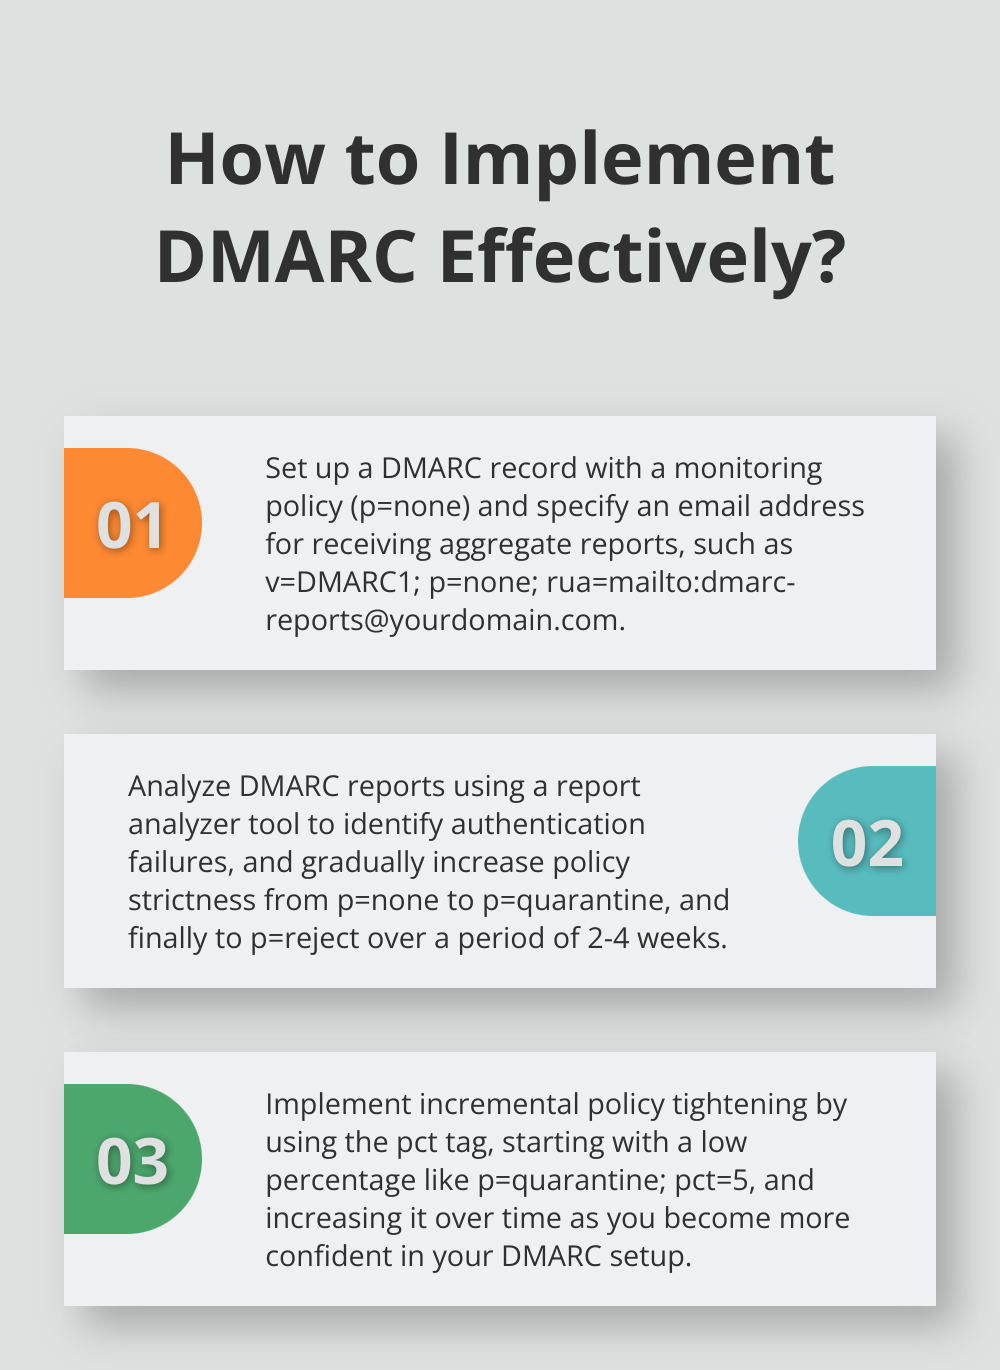
Next, decide on your DMARC policy. Start with a monitoring policy (p=none) to collect data without affecting email delivery. This method allows you to analyze your email traffic and identify potential issues before you enforce stricter policies.
Your initial DMARC record with no policy might look like this:
v=DMARC1; p=none; rua=mailto:dmarc-reports@yourdomain.com
This record instructs receiving servers to send aggregate reports to the specified email address without taking action on failed authentications.
If you want receiving mail servers to quarantine any email that fails authentication, your DMARC record will look like this:
v=DMARC1; p=quarantine; rua=mailto:dmarc-reports@example.com
This policy quarantines suspicious emails and monitors them through aggregate reports.
If you want receiving mail servers to reject any email that fails authentication, your DMARC record will look like this:
v=DMARC1; p=reject; rua=mailto:dmarc-reports@yourdomain.com
Generate and Implement the DMARC Record
After you decide on your policy, generate the full DMARC record. Many DNS providers offer tools to create DMARC records, but online DMARC record generators can also provide guidance.
To add the record to your DNS:
- Access your DNS management interface
- Create a new TXT record
- Set the host to _dmarc
- Paste your DMARC record into the value field
- Save the changes
After you add the record, verify its presence with a DMARC lookup tool like EasyDmarc. These tools confirm that your record is correctly published and accessible. With EasyDmarc you can protect your company reputation, ensure compliance with industry regulations, and improve your domains’ performance with their all-in-one DMARC service platform.
Monitor and Adjust Your DMARC Implementation
Once your DMARC record is in place, you’ll receive reports at the email address specified in the rua tag. These reports offer valuable insights into your email authentication status. Proofpoint’s 2022 State of the Phish report provides an in-depth look at user phishing awareness, vulnerability, and the impact of email security measures.
Use a DMARC report analyzer to interpret these reports effectively. These tools help you identify authentication failures and guide you in refining your SPF and DKIM configurations.
As you gain confidence in your DMARC setup, increase the strictness of your policy gradually. Move from p=none to p=quarantine, and eventually to p=reject for maximum protection. This phased approach ensures that legitimate emails aren’t inadvertently blocked while you fine-tune your authentication mechanisms.
The next step in your DMARC journey involves adopting best practices to maximize its effectiveness. Let’s explore these strategies to ensure your DMARC implementation provides the highest level of email security for your domain.
Maximizing DMARC Effectiveness
Start with Observation Mode
Implement DMARC with a p=none policy to collect data without impacting email flow. This approach allows organizations to gain insights into their email ecosystem. DMARC adoption saw a significant boost starting in January/February 2024 among the top 10 million domains.
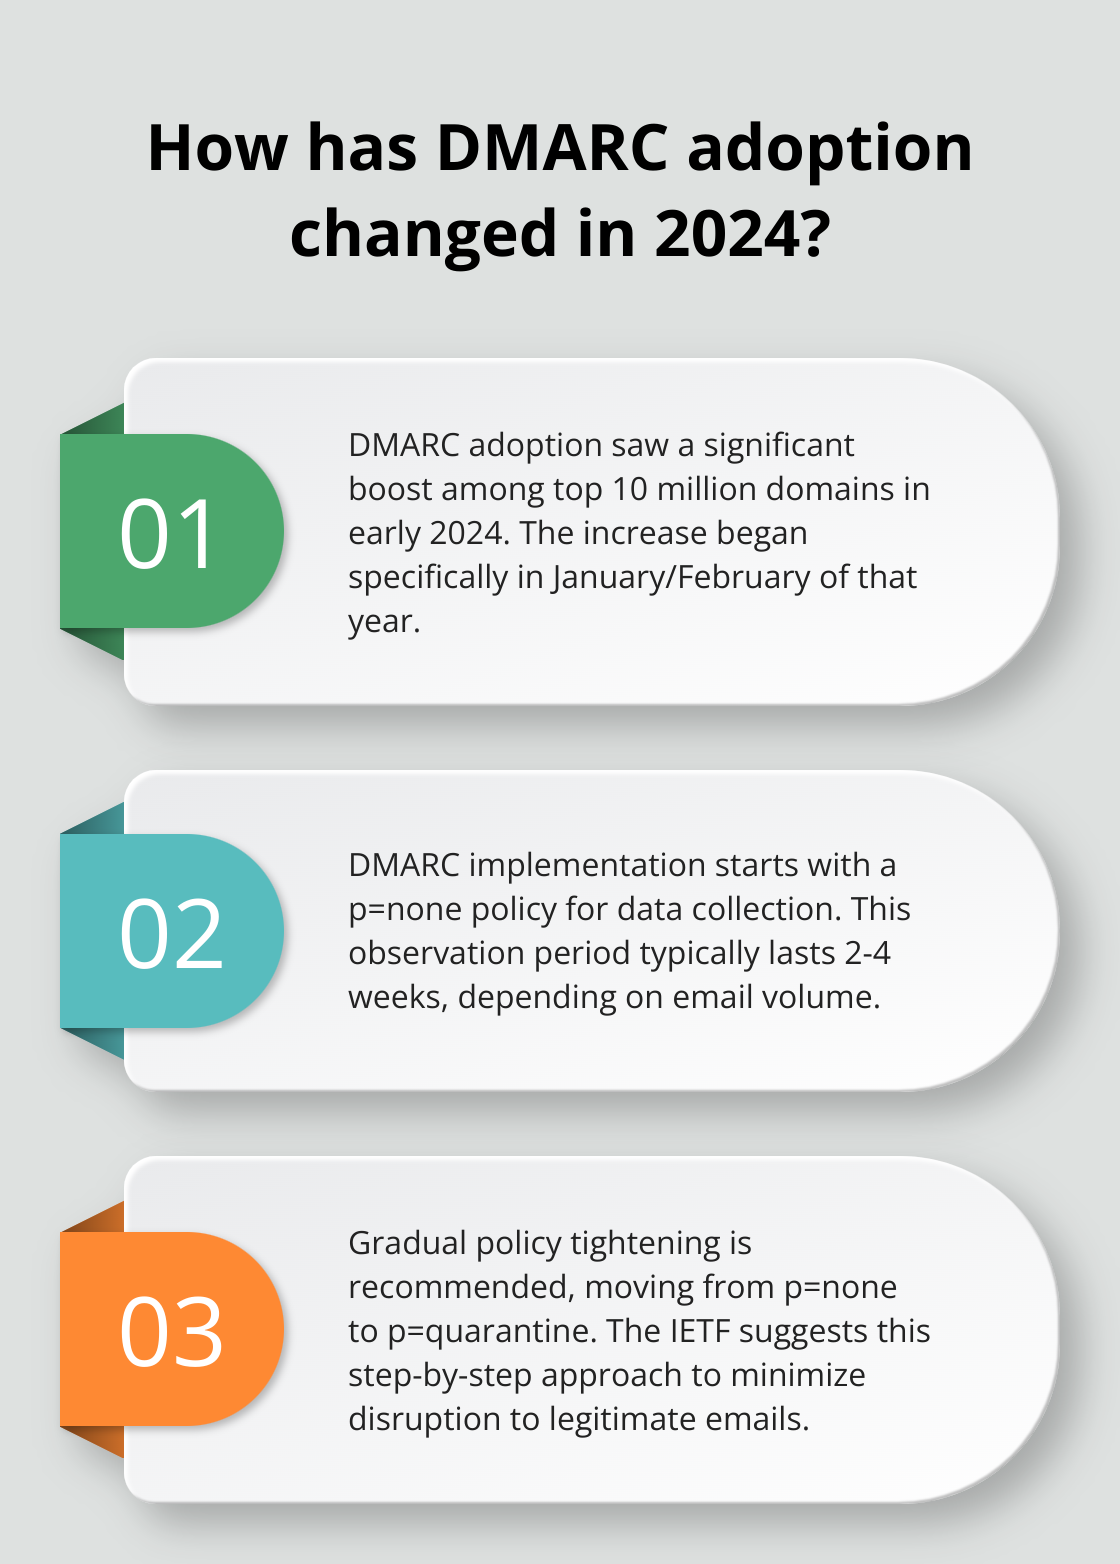
During this phase, analyze the reports you receive. Identify patterns in authentication failures and legitimate senders that might face issues with stricter policies. This observation period typically lasts 2-4 weeks (depending on email volume).
Implement Incremental Policy Tightening
After gathering sufficient data, tighten your policy gradually. Progress from p=none to p=quarantine, instructing receiving servers to send unauthenticated emails to the spam folder. The Internet Engineering Task Force (IETF) recommends this step-by-step approach to minimize disruption to legitimate email flow.
Begin with a low percentage and increase it over time. For example:
p=quarantine; pct=5
This instructs receivers to quarantine 5% of failed messages while delivering the rest. Increase this percentage as you become more confident in your setup.
Monitor and Analyze Continuously
Analyze DMARC reports regularly to maintain robust email security. The Global Cyber Alliance provides a Setup Guide that performs a scan of a domain to check for SPF/DKIM/DMARC protocols and offers step-by-step guidance on creating these records.
Use DMARC report analysis tools to interpret the data effectively. These tools help you identify:
- Unauthorized senders using your domain
- Misconfigured email services
- Potential phishing attempts
Set up alerts for sudden changes in authentication rates or new sending sources. This proactive approach allows you to address issues quickly.
Update Your DMARC Record
As your email infrastructure evolves, update your DMARC record. Review and modify your SPF and DKIM configurations regularly to ensure they accurately reflect your current email sending practices.
If you are sending emails out of a subdomain like:
name@info.yourdomain.com
Consider adding subdomains to your DMARC policy using the sp tag. This extends protection to all subdomains, closing potential security gaps. For instance:
v=DMARC1; p=reject; sp=reject; rua=mailto:dmarc-reports@yourdomain.com
This policy rejects unauthenticated emails for both your main domain and all subdomains.
Final Thoughts
Adding a DMARC record to your domain strengthens your email security. This process starts with understanding your DNS setup and creating an appropriate DMARC policy. You should begin with a monitoring phase, then increase the policy strictness as you gain insights from DMARC reports.
Regular monitoring and analysis maintain robust email authentication. Your email infrastructure will change, and your DMARC configuration should adapt accordingly. Update your records as needed and use the reports to improve your email security posture.
We at Lead Generation Institute help businesses optimize their digital marketing strategies, including email security. Our consulting services and expert-led community can support you as you implement and refine your DMARC strategy (which contributes to a more secure email ecosystem for everyone). Take action today to enhance your email deliverability and brand protection.

