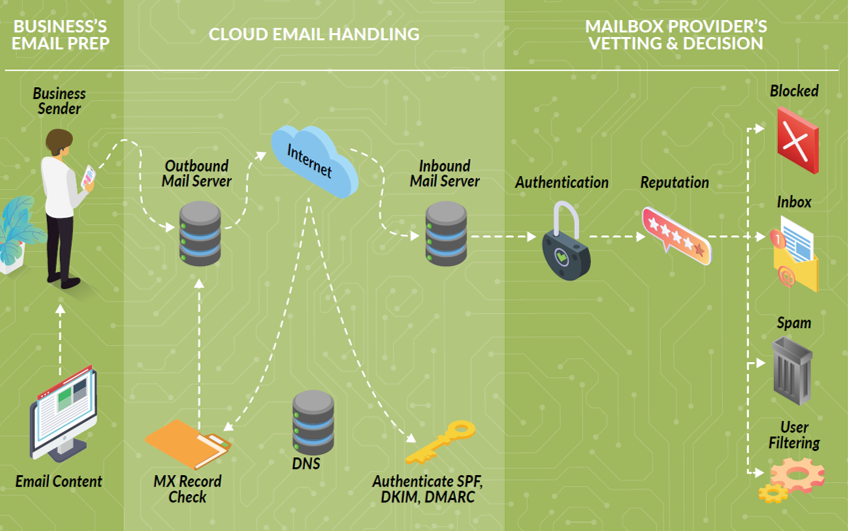
Email security is a top priority for businesses of all sizes. At Lead Generation Institute, we often encounter clients struggling with email deliverability issues due to inadequate sender authentication.
Adding SPF records to your domain is a critical step in protecting your email reputation and preventing spoofing attempts. This guide will walk you through the process, helping you secure your email communications effectively.
What Are SPF Records and Why Do They Matter?
Defining SPF Records
SPF (Sender Policy Framework) records are DNS TXT entries that list all the servers authorized to send emails from a particular domain. These records act as a list of approved IP addresses that email recipients check to verify the legitimacy of incoming messages.
The Importance of SPF Records
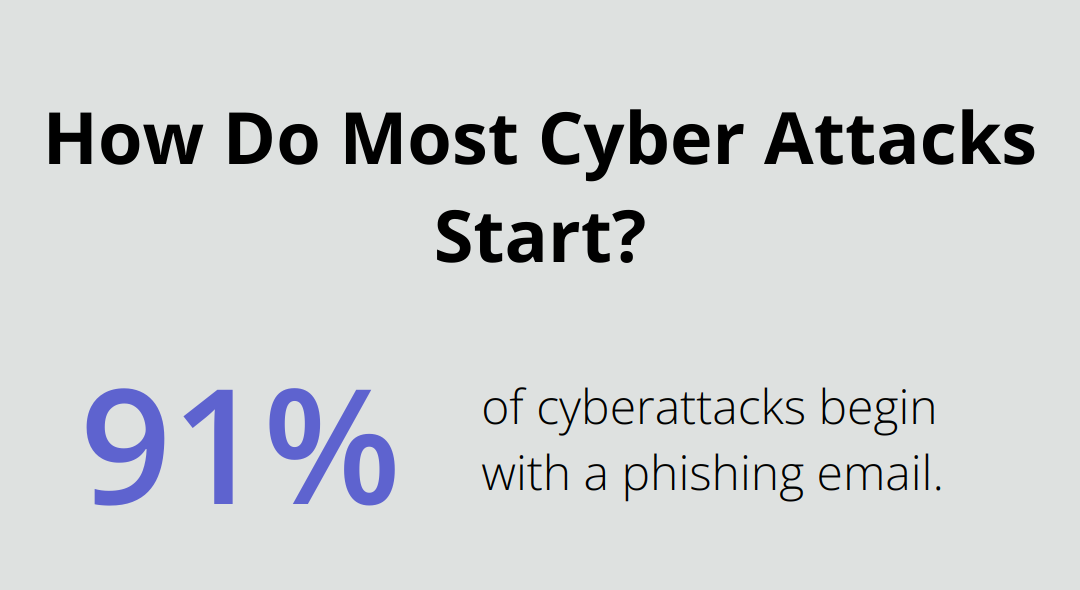
SPF records prevent email spoofing and phishing attacks. Without SPF, anyone could potentially send emails claiming to be from your domain, which damages your reputation and leads to security breaches. Studies show that 91% of cyberattacks begin with a phishing email, which underscores the importance of email authentication measures like SPF.
How SPF Protects Your Domain
When you send an email, the receiving server checks the SPF record of your domain. If the IP address of the sending server matches one listed in your SPF record, the email passes the SPF check. If not, the server flags it as suspicious or rejects it outright.
For instance, if you use Google Workspace for your business email, your SPF record includes Google’s mail servers. This informs receiving servers that emails from these IPs are legitimate, even if they don’t come directly from your company’s network.
SPF as Part of a Comprehensive Strategy
SPF implementation is just the first step in a robust email security strategy. Combining SPF with DKIM (DomainKeys Identified Mail) and DMARC (Domain-based Message Authentication, Reporting & Conformance) provides maximum protection. This multi-layered approach (which many experts recommend) reduces the risk of domain misuse for malicious purposes and maintains a strong sender reputation.
Impact on Email Deliverability
Proper SPF configuration significantly improves email deliverability rates. Businesses that implement SPF correctly often see improvements in this metric, which translates to better communication with clients and prospects.
As we move forward, understanding how to add SPF records to your domain becomes the next logical step in securing your email communications and improving deliverability.
How to Add SPF Records to Your Domain
Access Your Domain’s DNS Settings
To begin, log into your domain registrar’s website. Navigate to the DNS management section, which you’ll typically find under domain settings or advanced settings. If you can’t locate this section, contact your registrar’s support team for assistance.
Create Your SPF Record
Next, craft your SPF record. The basic structure follows this format:
v=spf1 [list of authorized IP addresses and domains] ~all
For instance, if you use Google Workspace and your own mail server, your SPF record might look like this:
v=spf1 include:_spf.google.com ip4:192.0.2.0/24 ~all
Keep in mind you don’t have to include your IP address but it helps improve delverability if you do.
v=spf1 include:_spf.google.com ~all
This record authorizes Google’s servers and your IP range to send emails on your behalf. The ~all at the end instructs receiving servers to reject emails from unauthorized sources.
Make sure to have a space at the end of your record before the ~all
What if you send from multiple platforms or SMTPs?
Simply add the provider or platform to your existing record like this:
v=spf1 include:_spf.google.com include:mailgun.org ~all
Add the SPF Record to Your DNS
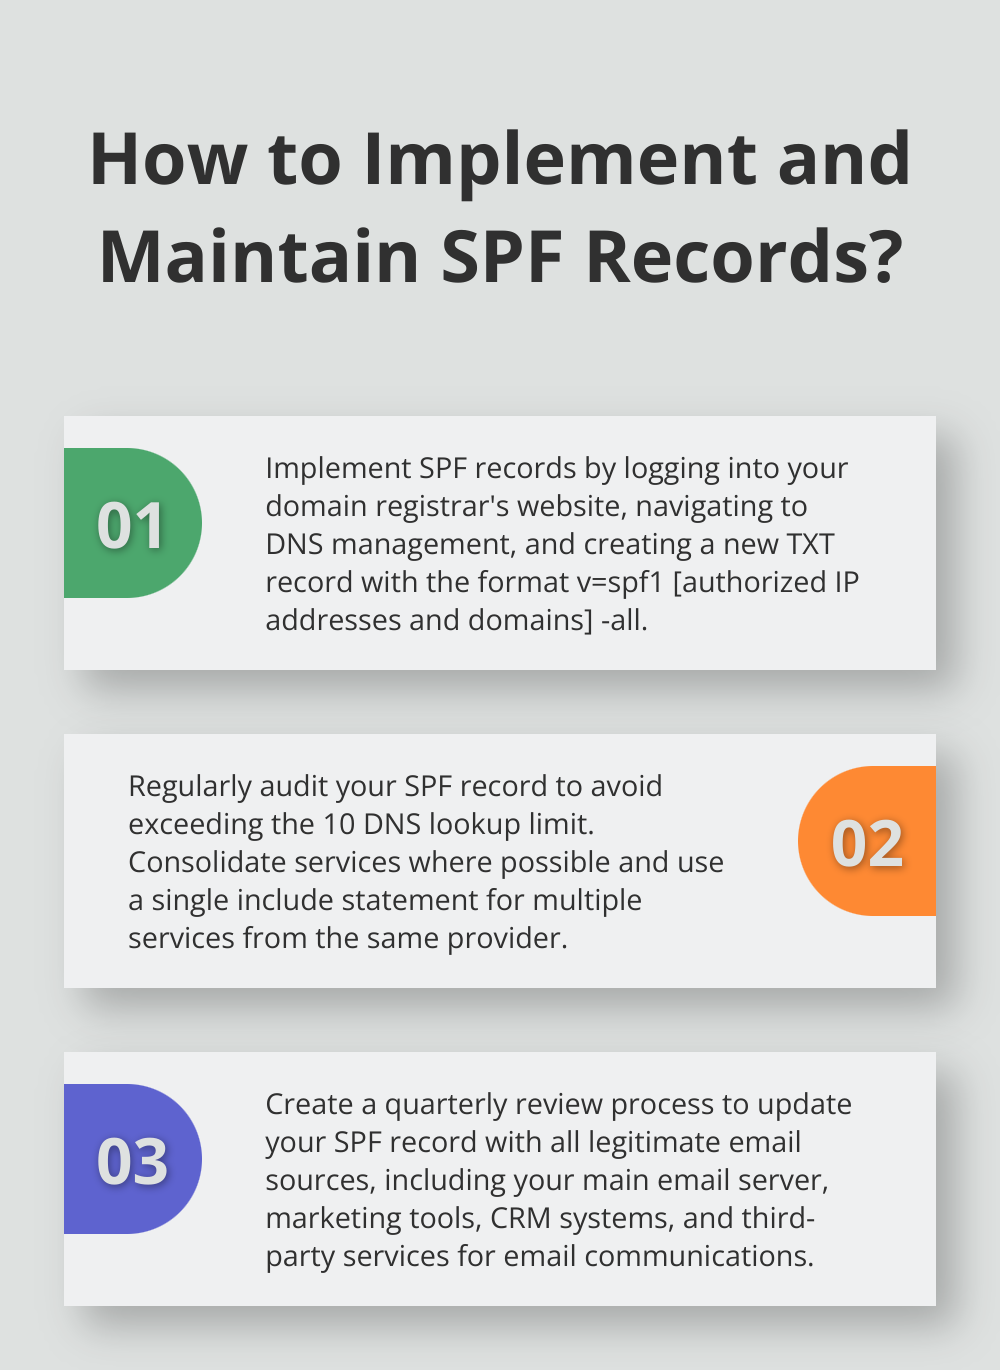
In your DNS management panel, create a new TXT record. Copy your SPF record into the value or data field. Set the host or name to @ or leave it blank (depending on your registrar’s interface). Save your changes.
Verify Your SPF Record
After adding the record, verify it. Use an SPF record checker tool like Easy Dmarc to confirm the correct implementation. These tools will parse your record and highlight any issues.
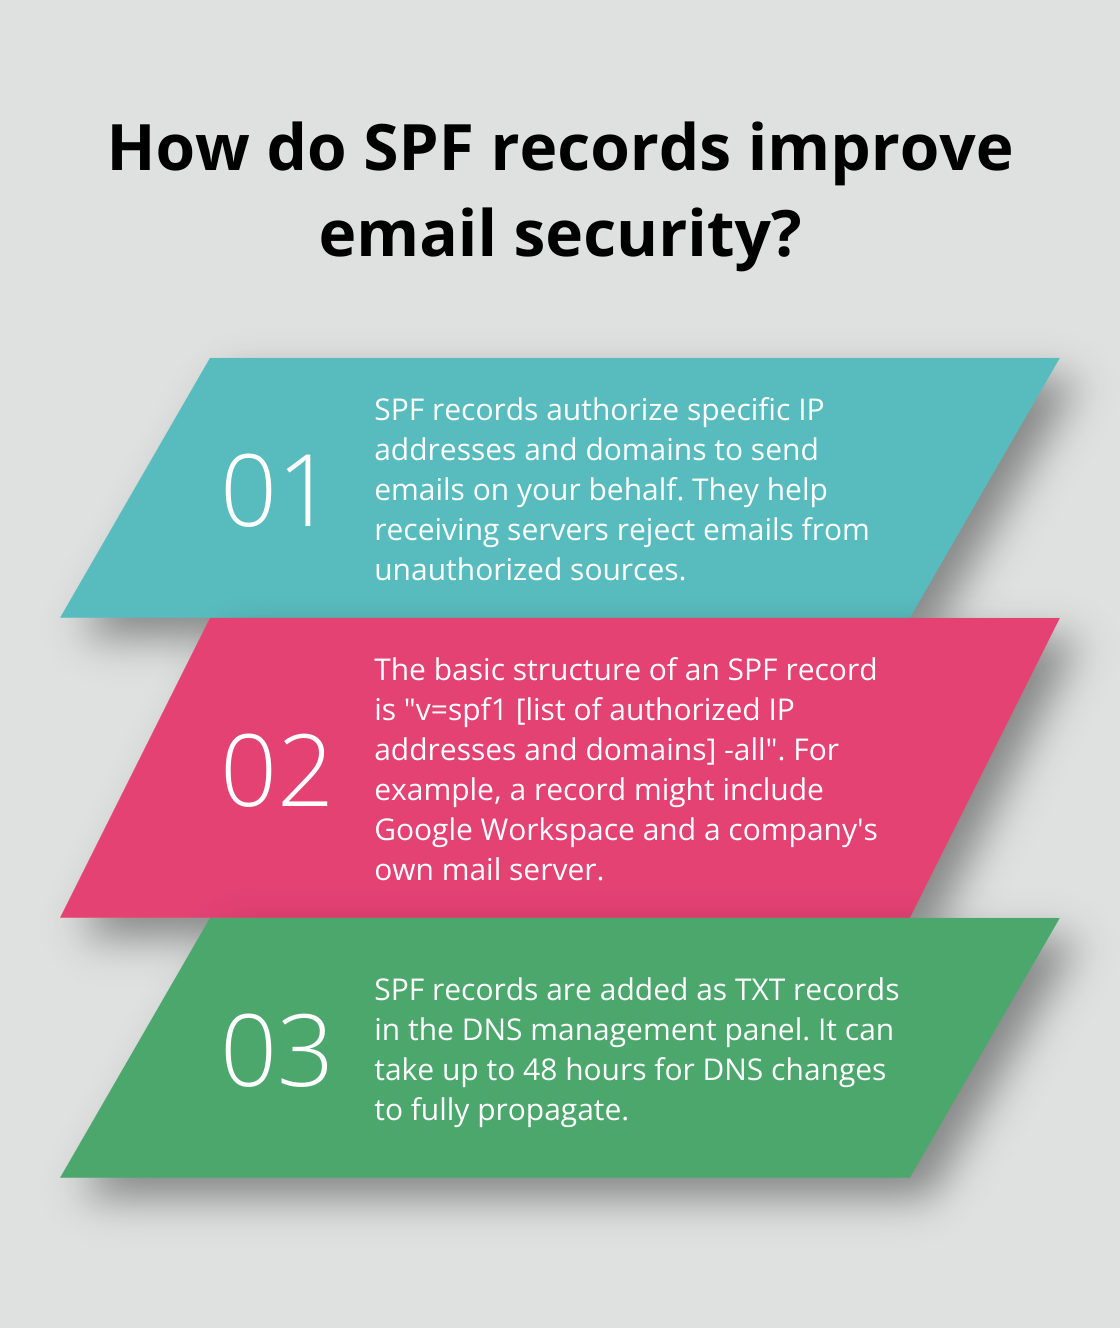
DNS changes can take up to 48 hours to propagate fully. If the checker doesn’t show your new record immediately, wait a day and try again.
Common Pitfalls to Avoid
When setting up SPF records, watch out for these common mistakes:
- Exceeding the 10 DNS lookup limit (which can cause SPF checks to fail)
- Forgetting to include all legitimate email sources
- Using incorrect syntax (which can lead to parsing errors)
Note: dont include: too many providers on your spf record. One provider might have multiple IPs and nested lookups, and after you exceed ten entries, your SPF record can fail authentication, and you will have to remove a provider.
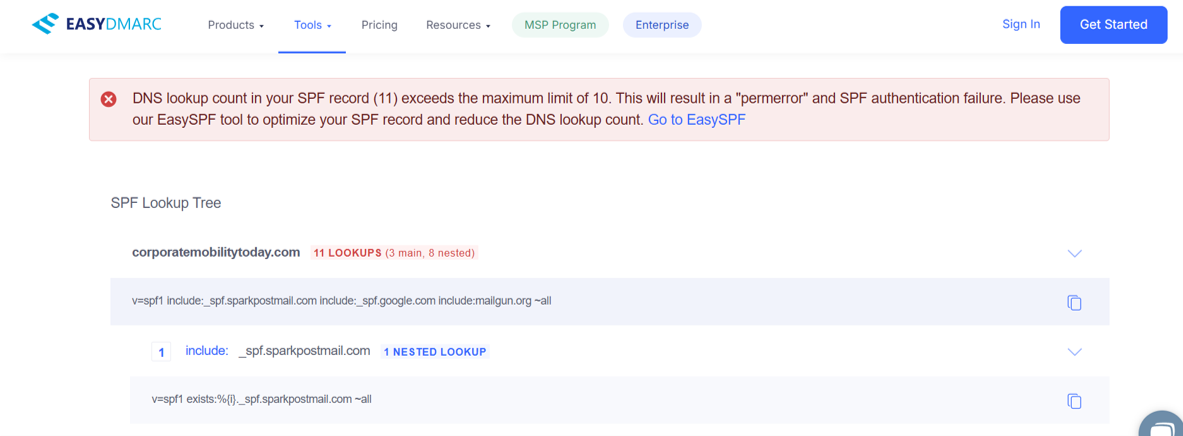
A “nested lookup” in an SPF record refers to a situation where an “include” mechanism within your SPF record points to another domain’s SPF record, which itself contains additional “include” statements, creating a chain of DNS lookups that can quickly add up and exceed the allowed limit of 10 lookups per SPF check; essentially, it’s like a “Russian nesting doll” of SPF records where one record includes another, which includes another, and so on.
Proper SPF configuration improves email deliverability rates significantly. Many businesses see a reduction in spam complaints after implementing SPF records correctly. (This small time investment protects your brand and ensures your messages reach their intended recipients.)
As you move forward with securing your email communications, it’s important to understand potential mistakes that can occur during the SPF record setup process. Let’s explore these common errors and how to avoid them in the next section.
How to Avoid Common SPF Record Mistakes
The DNS Lookup Limit Trap
SPF records often fail due to exceeding the 10 DNS lookup limit. This occurs when too many external services or domains are included. Surpassing this limit causes SPF checks to fail, potentially marking your emails as spam.
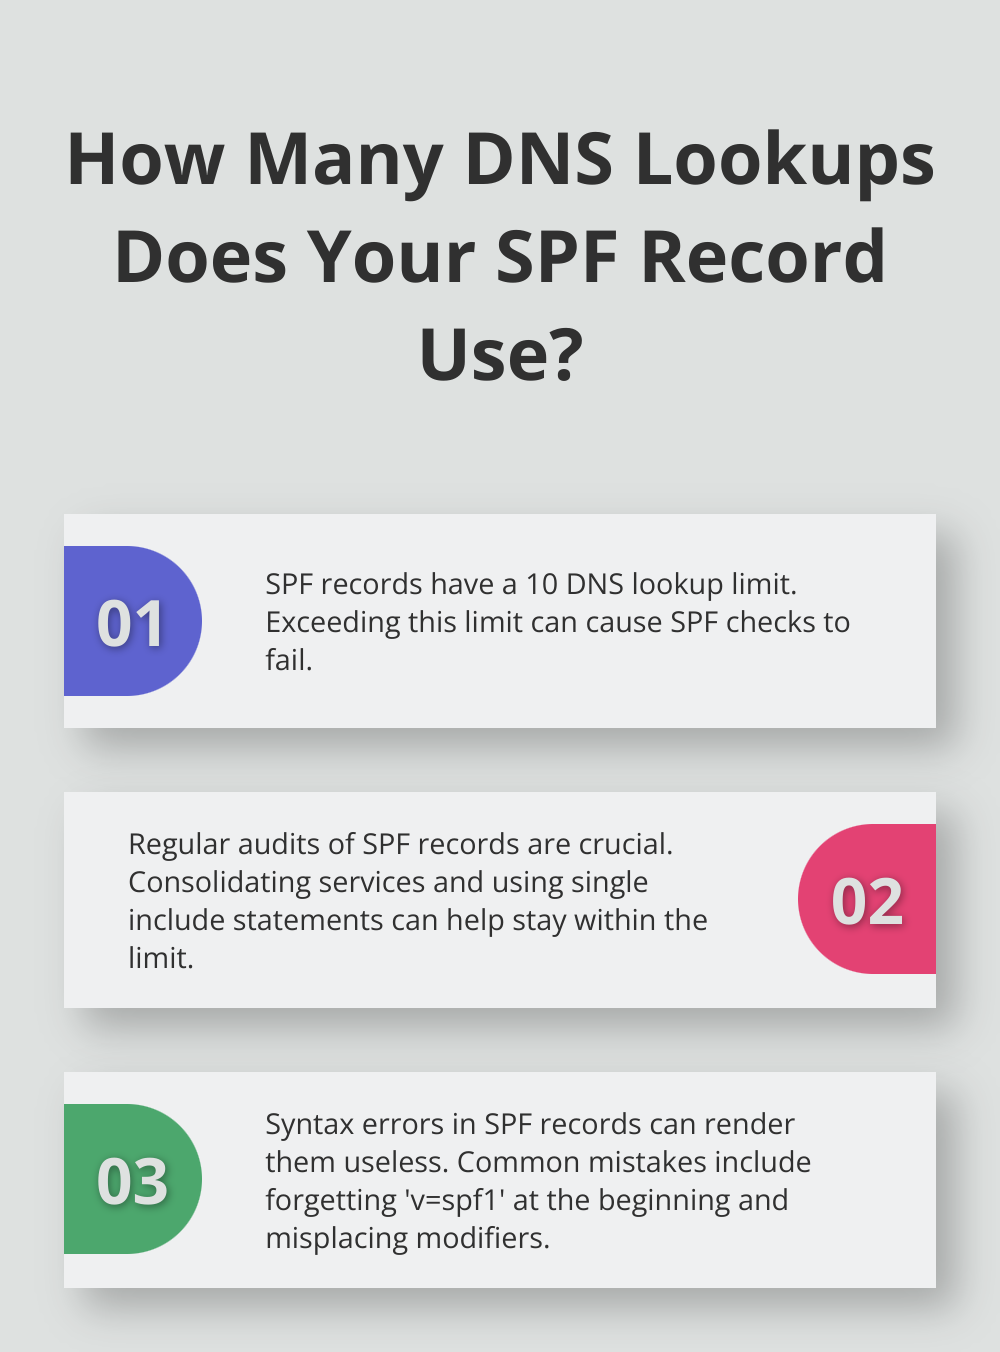
To prevent this, audit your SPF record regularly. List all services sending emails on your behalf and consolidate where possible. If you use multiple services from the same provider, look for a single include statement that covers all of them.
Syntax Errors That Derail Your SPF
Incorrect syntax in your SPF record can render it useless. Even a small typo can cause parsing errors, leading to failed SPF checks. Common syntax mistakes include:
- Forgetting the v=spf1 at the beginning
- Using spaces incorrectly
- Misplacing modifiers
Always double-check your SPF record syntax after making changes. Use SPF record validation tools to catch any errors before they impact your email deliverability. These tools can verify if an SPF record exists on a domain’s DNS and if it’s deployed correctly, checking for correct syntax and other issues.
Missing Legitimate Email Sources
Overlooking legitimate email sources in your SPF record is another common mistake. This can happen when you add new email services or change your email infrastructure without updating your SPF record.
Maintain an up-to-date list of all services and servers that send emails on behalf of your domain. This includes:
- Your main email server
- Marketing automation tools
- CRM systems
- Third-party services for email communications
Review this list quarterly to ensure your SPF record remains comprehensive and accurate.
Neglecting SPF Updates During Service Changes
Many businesses forget to update their SPF records when switching email services or adding new ones. This oversight can lead to legitimate emails failing SPF checks and potentially being marked as spam.
Implement a change management process that includes updating DNS records whenever you modify your email infrastructure. This process should involve your IT team, marketing department, and any other stakeholders who manage email communications.
Ignoring SPF in Multi-Domain Setups
Companies with multiple domains often overlook setting up SPF records for each domain. This leaves some domains vulnerable to spoofing and can impact overall email deliverability.
Create and maintain separate SPF records for each domain you own (even if you don’t actively use them for sending emails). This practice helps protect your brand across all your digital properties.
Final Thoughts
Adding SPF records to your domain is a vital step in protecting your email communications and maintaining a strong sender reputation. This process creates a robust defense against email spoofing and phishing attempts, which pose significant threats in today’s digital landscape. The implementation of SPF, while technical, becomes straightforward when you approach it systematically.
We at Lead Generation Institute understand the importance of effective email communication in lead generation and marketing. Our expertise in digital marketing solutions (including email authentication best practices) can help you optimize your campaigns and drive revenue growth. We assist businesses in navigating the complexities of modern marketing landscapes by leveraging the latest technologies and industry insights.

